Homemade Jewelry Cleaner: Natural DIY Recipes That Actually Work
Homemade Jewelry Cleaner: Natural DIY Recipes That Actually Work
This homemade jewelry cleaner guide bundles five natural, non-toxic recipes you can safely use at home to refresh gold, silver, and many gemstones. You'll find material-specific steps, cautions for pearls and porous gems, and practical tips to prevent tarnish between cleanings. Written for Canadian shoppers and aligned with Bri's Bazaar Made-in-Canada focus, these clear methods pair simple kitchen ingredients with safe, Canadian-made care accessories.
Soap and Water Bath: Everyday Jewelry Cleaning
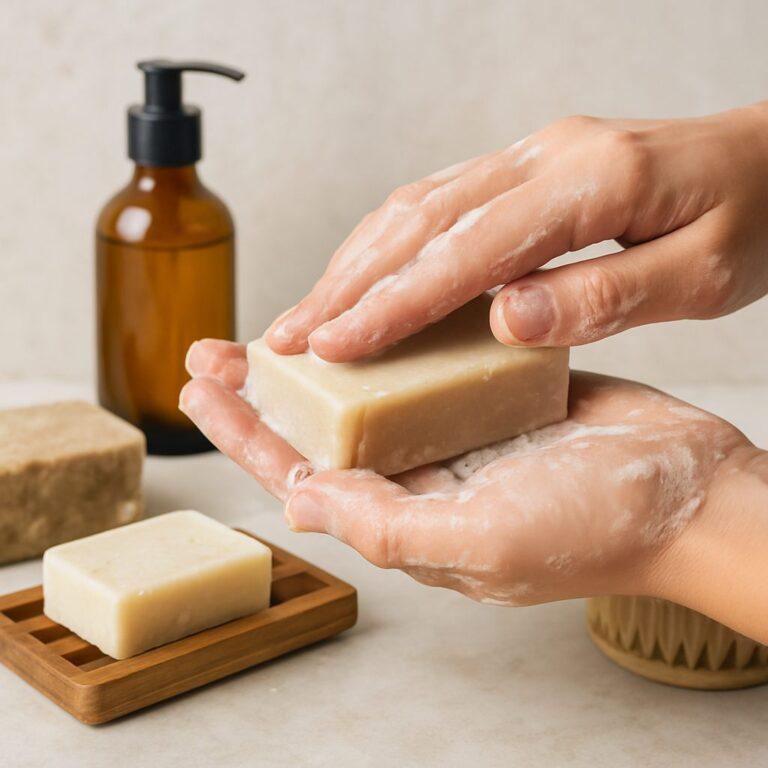
For everyday pieces, a simple wash with warm water and mild dish soap is the baseline method that won't harm gold, silver, or non-porous stones. It's economical, accessible, and something you can do in a kitchen sink between wears. Rely on this approach first, and check stone compatibility if you have doubts. For additional context on safe jewelry cleaning, see GIA's guidance: GIA care jewelry cleaning.
- Target audience and suitable pieces: Best for gold, sterling silver, and pieces with non-porous stones like diamonds, clear cubic zirconia, or sapphire; avoid porous gems unless you know they can tolerate water exposure.
- Ingredients and steps: Warm water, a few drops of mild dish soap, and a soft-bristled toothbrush. Soak briefly if needed, then gently brush all surfaces and crevices; rinse thoroughly and dry with a lint-free cloth.
- Safety notes: Avoid soaking porous stones such as opal, turquoise, or pearls; inspect settings before cleaning and set aside any delicate items.
Concrete example: A gold chain with a small diamond pendant and a sterling silver ring both benefit from this bath. After wearing, rinse them in warm, soapy water, gently brush along links and around prongs, rinse again, and dry with a lint-free cloth. You can refresh them in under five minutes without special tools.
Practical insight: this method is safe and accessible, but it won't remove heavy tarnish or ingrained oils. If pieces look dull sooner than expected, add a quick post-wear wipe and schedule a deeper clean every few weeks, especially for pieces worn daily.
Keep maintenance simple: after each wear, wipe with a damp cloth, then perform a full soap and water clean on a weekly cadence for pieces you wear often. Store in soft pouches or jewelry boxes away from humidity and sunlight, and use a Canadian-made polishing cloth for a gentle finish when needed.
Aluminum Foil Tarnish Bath for Silver Jewelry
The aluminum foil tarnish bath is a fast, non-toxic way to brighten silver jewelry that shows surface tarnish but has no complicated finishes. It excels on plain sterling or fine silver with smooth surfaces and is not suitable for pieces with glued stones, porous gems, or antique coatings.
What you need is simple: a non-reactive bowl, a sheet of aluminum foil, hot water, and baking soda. The setup is inexpensive and aligns with safe cleaning practices you can do at home. If you’re shopping Canadian-made goods, pair this method with locally sourced baking soda and a soft polishing cloth to finish the piece after cleaning.
- Line the bowl with aluminum foil shiny side up to maximize contact with the tarnish.
- Pour hot water and add 1–2 tablespoons baking soda to create the redox environment that lifts tarnish.
- Submerge the silver pieces so they touch the foil and let the reaction begin; avoid crowding the pieces.
- Soak for 5–10 minutes for moderate tarnish; longer soaks are possible but check for any finish changes.
- Rinse thoroughly and dry completely with a lint-free cloth to prevent water spots.
Safety matters matter here: remove any jewelry with glued stones or porous gems before using this method. The bath uses heat and a fresh chemical balance, so handle the bowl with tongs and allow pieces to cool before touching. If you’re unsure about coatings or a particular stone, test on a small, inconspicuous area first.
Concrete use-case: a plain sterling silver bracelet with a high-polish finish cleaned in a foil bath dropped years of dulling to a bright, reflective surface in under ten minutes. It was straightforward—no abrasive scrubbing and no harsh chemicals. Afterward, a quick wipe with a soft cloth restored gleam, and the piece felt like new again.
Trade-off to consider: this method is excellent for flat or gently curved metal surfaces but can leave micro-scratches if the piece is aggressively polished or very soft. It also won’t help with heavy patina or any stone setting that isn’t securely glued. Use it for metal-only portions and reserve more delicate pieces for gentler methods.
Safety note: this approach is not universal—porous stones and glued components should be cleaned by gentler means to avoid damage.
Next step: if you’re routinely cleaning multiple pieces, integrate this method with a quick soap-and-water wipe and finish with a Canadian-made polishing cloth to maintain shine between deeper cleans.
Baking Soda Paste: Tarnished Metals Rejuvenation
Baking Soda Paste offers a targeted polish for tarnish on solid silver and select gold pieces. It’s a practical, budget-friendly option when you want to revive dull surfaces without relying on harsher chemicals.
Because this paste relies on a mild abrasive, use restraint: avoid porous stones, glued components, and any coating that may be scratched. Do a quick spot test on an inconspicuous area before applying to the entire piece, and limit each treatment to brief passes.
- Mix a paste from 3 parts baking soda to 1 part water until you reach a toothpaste-like consistency.
- Dab a small amount on a soft toothbrush or lint-free cloth and gently polish tarnished areas in tiny circular motions for 15–20 seconds.
- Rinse under lukewarm running water until all residue is gone, then dry thoroughly with a lint-free cloth and buff to a soft shine.
Example: A sterling silver bracelet with faint tarnish along the edges responds well to this paste. Apply briefly, rinse, and dry; you’ll notice a brighter, more uniform surface. If the piece has glued stones or a delicate finish, skip this method and switch to a gentler option.
Trade-off and limitations: The paste is gentler than chemical dips and handy for at-home touchups, but it can dull a high-polish finish or wear away soft coatings if used too aggressively. It also isn’t ideal for heavily oxidized surfaces or pieces with porous stones, patinated finishes, or delicate settings. In practice, reserve it for solid metals you wear regularly and avoid repeated aggressive polishing.
Not every metal enjoys this treatment. For coated finishes, blackened or heavily oxidized surfaces, or pieces with porous gemstones, the paste can cause micro-scratches or leave a residue that’s hard to remove. In practice, reserve baking soda for clean, undamaged metals and keep the technique brief.
Post-cleaning care matters: wipe away any paste, then give the piece a light soap-and-water wipe to remove any remaining particles, dry thoroughly, and store away from humidity. If you’re shopping for safe tools, Bri's Bazaar features Canadian-made polishing cloths and non-toxic cleaners that complement this method.
Takeaway: Use baking soda paste sparingly as a targeted tarnish remedy for solid silver and select gold items. Avoid porous stones and glued components, and pair with proper storage and a Canadian-made polishing cloth for best results. Next consideration: establish a light maintenance routine to prevent tarnish between cleanings.
Gentle Care for Pearls and Porous Gemstones
Pearls and porous gemstones demand a precise touch in at‑home care. Porosity and nacre make these pieces vulnerable to moisture and solvents, which can loosen stringing or dull luster. Use a simple, natural approach: a warm water and a drop of mild dish soap, applied with a soft microfiber cloth, then wipe away the soap and dry thoroughly. Avoid soaking or aggressive brushing, which can push cleaners into crevices and under settings.
Porous stones like opal, turquoise, and agate behave differently from solid metals. They can absorb liquids and pigments, so keep exposure short and minimal. A glued setting or delicate chain can fail if you soak the piece, so treat each item individually rather than dunking an entire collection. Example: a pearl strand alongside a turquoise ring should be cleaned separately—wipe both with a damp cloth, then dry, rather than dunking them together.
- Step 1: Mix a small amount of warm water with 1–2 drops of mild dish soap.
- Step 2: Dampen a soft cloth; wring out excess moisture.
- Step 3: Gently wipe each piece, focusing on the metal and non-porous parts while avoiding the porous stones.
- Step 4: Wipe again with a clean, damp cloth to remove any soap residue.
- Step 5: Dry completely with a lint-free cloth and lay flat to air-dry if needed.
Safety notes and trade-offs: this method prioritizes the pieces' structural integrity over a showroom shine. It won't remove heavy dirt trapped under settings, and it won't revive badly dulled nacre. For deeper cleaning on non-porous pieces, you can reference safer, non-toxic approaches from reputable guides, but always skip soaking porous stones and pearls.
Beyond cleaning, storage and handling matter. After cleaning, store pearls separately from other pieces in soft pouches, away from humidity and direct sunlight. For ongoing maintenance, wipe with a damp cloth after wear and dry promptly, then use a Canadian-made polishing cloth for a gentle finish on non-porous metals. If a stone looks dull after a cleaning attempt, or a setting feels loose, seek professional care rather than applying second‑guess DIY methods.
Takeaway: moisture is the enemy for pearls and porous gems—clean softly, dry completely, and reserve deeper cleaning for pieces that can tolerate it.
Maintenance and Safe Storage to Preserve Shine
After a DIY cleaning session, you protect shine through how you store and dry pieces. Proper drying, separate storage, and humidity control keep the finish looking sharp between cleanings.
Storage choices matter: avoid piling pieces together; use soft pouches or lined boxes, and keep pieces away from heat, humidity, and direct sunlight. Consider adding a small humidity-control approach with silica gel packs in closed storage or a breathable, cotton-lined box. Also avoid storing jewelry next to rubber, PVC, or other materials that can off-gas and cause discoloration.
- Dry thoroughly after cleaning before storing to prevent water spots and pale residues.
- Store separately or in individual anti-tarnish sleeves to prevent scratches and metal-to-metal contact.
- Use humidity control such as silica gel in storage containers and avoid humid bathrooms.
- Choose Canadian-made care accessories like polishing cloths and soft pouches when possible.
Rotation helps prolong finish. If you wear a piece daily, give it a rest in its storage pouch for a day to reduce oil and sweat buildup.
Concrete example: After cleaning a silver bracelet using a gentle homemade jewelry cleaner, you rinse, pat dry, and lay it on a microfiber cloth to finish air-drying for a minute. You then slide it into a soft cotton pouch with a silica gel pack and a Canadian-made polishing cloth for quick touch-ups between wears. This routine minimizes flash tarnish and keeps the bracelet ready to wear without extra effort.
A practical warning: if a storage environment feels humid or stuffy, tarnish can creep back in even when you clean regularly. The combination of dry handling, proper storage, and humidity control is the practical leverage you need. For deeper guidelines on safe storage and care, see GIA care tips.
article blockquote,article ol li,article p,article ul li{font-family:inherit;font-size:18px}.featuredimage{height:300px;overflow:hidden;position:relative;margin-top:20px;margin-bottom:20px}.featuredimage img{width:100%;height:100%;top:50%;left:50%;object-fit:cover;position:absolute;transform:translate(-50%,-50%)}article p{line-height:30px}article ol li,article ul li{line-height:30px;margin-bottom:15px}article blockquote{border-left:4px solid #ccc;font-style:italic;background-color:#f8f9fa;padding:20px;border-radius:5px;margin:15px 10px}article div.info-box{background-color:#fff9db;padding:20px;border-radius:5px;margin:15px 0;border:1px solid #efe496}article table{margin:15px 0;padding:10px;border:1px solid #ccc}article div.info-box p{margin-bottom:0;margin-top:0}article span.highlight{background-color:#f8f9fb;padding:2px 5px;border-radius:5px}article div.info-box span.highlight{background:0 0!important;padding:0;border-radius:0}article img{max-width:100%;margin:20px 0}
Further reading